Many homeowners underestimate the importance of thermostat placement, which can greatly affect their home’s energy efficiency. Installing a thermostat isn’t just about swapping out devices; it’s about optimizing your HVAC system for comfort and savings. If you’re in Fort Worth, TX, and planning to install a new thermostat, there are essential tips that can make the process smoother and more effective. Let’s explore how to get it right.
Choose the Right Location for Your Thermostat
When choosing the right location for your thermostat, it’s vital to avoid placing it near drafts, heat sources, or direct sunlight, as these can lead to inaccurate temperature readings.
You’ll want to find a central location in your home, ideally on an interior wall. This helps guarantee that your thermostat measures the average temperature effectively.
Avoid locations near windows, doors, or vents where air movement can skew results. If you have high ceilings, consider positioning the thermostat at eye level for better accuracy.
It’s also important to keep it away from electronic devices that may emit heat, like TVs or computers.
Think about the flow of air in your home. A well-placed thermostat can help your HVAC system maintain a consistent temperature, improving comfort and efficiency. Additionally, consider consulting with licensed technicians for expert advice on optimal thermostat placement for your specific HVAC system.
Once you’ve chosen the right spot, you’ll be one step closer to enhanced climate control.
Turn Off Power to Your HVAC System
Before you start installing your thermostat, it’s crucial to turn off power to your HVAC system. This step guarantees your safety and prevents any damage to the system during installation.
Locate your circuit breaker panel and find the switch that controls your heating and cooling units. Flip the switch to the “off” position. If you’re unsure, you can also turn off the main power to the house, but be cautious about what that entails for your other appliances.
Once the power is off, double-check that your HVAC system isn’t running by trying to adjust your old thermostat. If you don’t hear any sounds or see any lights, you’ve successfully cut the power. Additionally, it’s important to ensure that all major brands and types of thermostats are compatible with your HVAC system before proceeding with installation.
Remove the Old Thermostat Carefully
Before you start removing the old thermostat, make certain to turn off the power to your HVAC system to avoid any electrical mishaps.
It’s also a good idea to document the wiring connections, so you know exactly how to connect the new one.
Taking these steps will help guarantee a smooth installation process. Additionally, ensuring your air ducts are clean can contribute to improving indoor air quality and optimizing your new thermostat’s performance.
Turn Off Power
First things first, you need to turn off the power to your thermostat to guarantee safety while you work.
Locate your home’s circuit breaker and find the switch that controls the heating and cooling system. Flip that switch to the “off” position. If you’re unsure, it’s best to turn off the entire system to avoid any surprises.
Once that’s done, double-check that the power is off by trying to adjust your thermostat—nothing should happen. This step is vital; working with live wires can lead to serious injury or damage.
After confirming the power is off, you can proceed with removing the old thermostat safely, ensuring you’re ready for the next steps in your installation process.
Document Wiring Connections
To guarantee a smooth installation process, documenting the wiring connections on your old thermostat is essential. Start by taking a clear picture of the wires and their respective terminals. This visual guide will help you remember where each wire belongs when you install the new thermostat.
If you prefer a written record, label each wire with tape or a marker, noting its corresponding terminal.
Carefully disconnect the wires from the old thermostat, ensuring you don’t damage them. Keep track of any screws or mounting hardware as well.
With this documentation in hand, you’ll simplify the installation of your new thermostat, making the process faster and more efficient.
Identify and Label Wires for Easy Installation
Identifying and labeling wires is essential for a smooth thermostat installation. Before you start disconnecting anything, take a moment to carefully examine the existing wiring.
Use a piece of tape or a label maker to mark each wire according to its corresponding terminal on the old thermostat. Common labels include R for power, W for heating, Y for cooling, and G for the fan.
This step not only simplifies reinstallation but also helps prevent confusion later on. If you’re unsure which wire goes where, snap a clear photo of the connections before you remove them.
This way, you’ll have a handy reference to guide you during installation. Remember, taking the time to label your wires correctly now will save you headaches down the line. Additionally, ensuring a clean air filter will further enhance your HVAC system’s efficiency after the new thermostat is installed.
With everything organized, you’ll be ready to connect the wires to your new thermostat with confidence.
Connect the Wires to the New Thermostat
Now that you’ve labeled the wires, it’s time to connect them to your new thermostat.
Make certain you identify each wire’s function and refer to the color code for guidance.
Secure each connection properly to guarantee a reliable setup.
Identify Wire Functions
As you prepare to connect the wires to your new thermostat, it’s crucial to understand the function of each wire to guarantee a seamless installation.
Typically, you’ll encounter wires labeled as R, W, Y, and G. The R wire is your power source, supplying the thermostat with energy. The W wire controls your heating system, activating it when necessary. The Y wire is responsible for your cooling system, signaling the air conditioner to turn on. Finally, the G wire operates the fan, allowing you to circulate air regardless of heating or cooling.
Take a moment to double-check these connections against your old thermostat’s setup to ensure everything aligns correctly. Properly identifying these wire functions will lead to a smooth installation process.
Color Code Wiring
Connecting the wires to your new thermostat requires attention to color codes for a straightforward installation.
Typically, you’ll find red (R), white (W), yellow (Y), and green (G) wires. The red wire connects to the R terminal, supplying power. The white wire goes to the W terminal for heating, while the yellow wire links to the Y terminal for cooling.
Finally, the green wire connects to the G terminal, controlling the fan. If you have additional wires, consult the thermostat manual for specific functions.
Make sure you match the colors accurately to avoid any issues. Once you’ve got everything connected properly, you’re one step closer to enjoying a comfortable home!
Secure Connections Properly
After you’ve matched the color-coded wires to their respective terminals, it’s important to secure the connections properly to confirm your thermostat functions correctly.
Start by gently twisting the exposed ends of each wire around the terminal screws. Make sure to tighten the screws securely; loose connections can lead to inconsistent performance.
If your thermostat has wire connectors, push the wires firmly into place until you hear a click. Always double-check that each wire is connected to the correct terminal to avoid any mishaps.
Once you’ve secured all connections, tuck the wires neatly into the wall before attaching the thermostat’s cover. This confirms a clean installation and minimizes the risk of damage.
Now, you’re ready to power it on!
Mount the Thermostat Securely
To guarantee your thermostat functions properly, it’s crucial to mount it securely on the wall. Start by choosing a location that’s away from direct sunlight, drafts, or heat sources like vents. This helps guarantee accurate temperature readings.
Use a level to make sure the thermostat is straight; an uneven installation can affect its performance.
Next, drill holes in the wall and insert wall anchors if necessary, especially if you’re mounting it on drywall. Securely attach the mounting plate with screws, confirming it’s tight enough to stay in place but not so tight that you damage the device.
Once the plate is on, snap the thermostat onto it and double-check that it fits snugly. A well-mounted thermostat not only looks better but also functions more effectively, providing you with the comfort you need in your Fort Worth home.
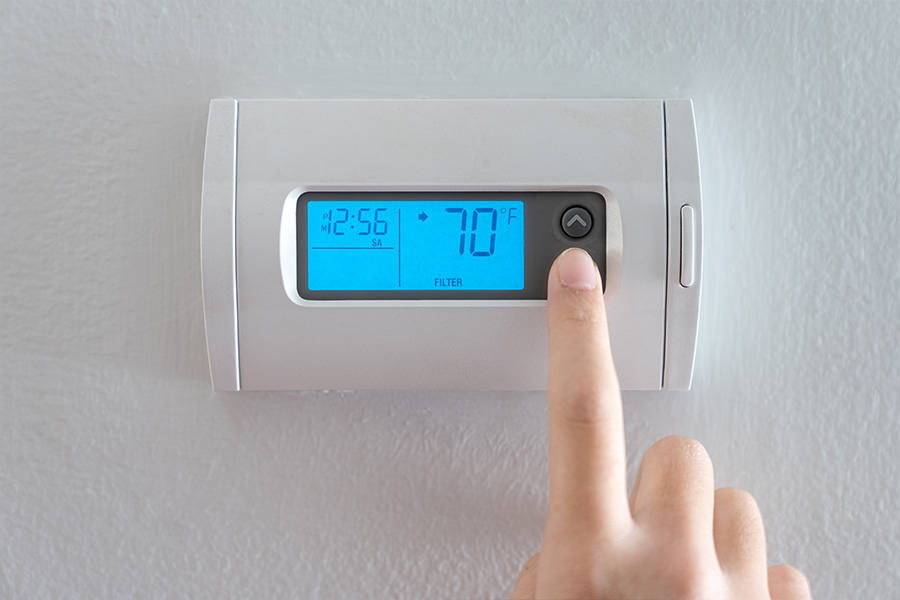
Turn Power Back On and Test the System
With your thermostat securely mounted, it’s time to restore power to the system and see if everything’s working as it should.
Head to your circuit breaker and flip the switch back on. Once the power’s restored, take a moment to check for any unusual sounds or smells—this guarantees everything’s functioning smoothly.
Next, set the thermostat to a desired temperature and wait a few minutes. You should hear your HVAC system kick in. If you have a heating system, turn it on as well to confirm both heating and cooling functions are operational.
Monitor the temperature and listen for consistent airflow. If something seems off, don’t hesitate to double-check your wiring connections or consult a professional.
Getting this step right is essential for your comfort and efficiency. Once everything’s running smoothly, you’re one step closer to enjoying a perfectly climate-controlled home!
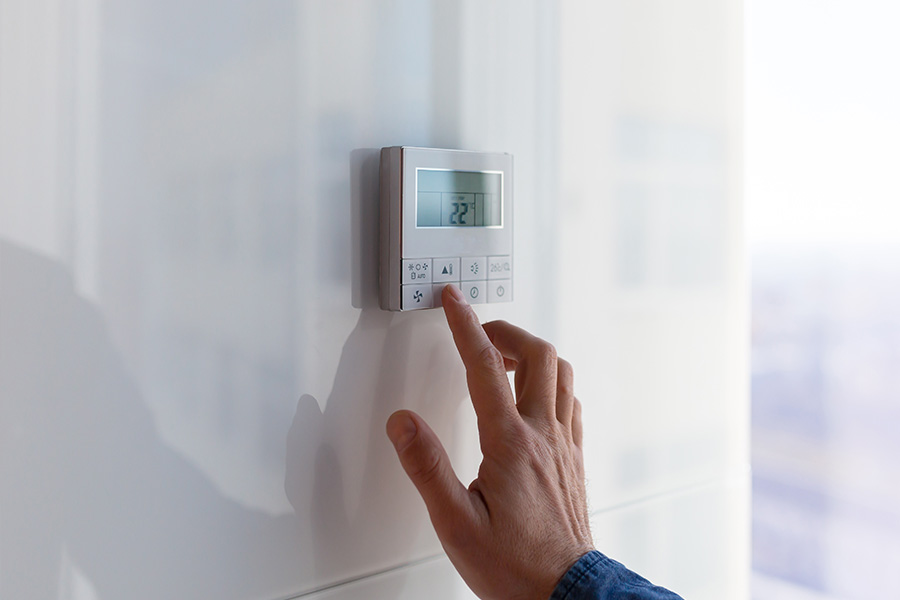
Program Your Thermostat for Optimal Efficiency
Now that your thermostat is installed, it’s time to program it for peak efficiency.
Set temperature schedules that fit your routine, utilize energy-saving features, and adjust settings for seasonal changes.
These simple steps can help you save money while keeping your home comfortable year-round.
Set Temperature Schedules
When you set temperature schedules on your thermostat, you can considerably enhance your home’s energy efficiency. By programming your thermostat to match your daily routine, you’ll save energy and money.
Here are some tips to get you started:
- Set the temperature lower when you’re away during the day.
- Program it to warm up before you return home.
- Lower the temperature at night for better sleep.
- Adjust settings for weekends to reflect your different schedule.
These simple adjustments guarantee your HVAC system only runs when needed, reducing wear and tear while keeping your home comfortable.
With a little planning, you can maximize efficiency and enjoy a cozy environment without overspending on energy bills.
Utilize Energy-Saving Features
To get the most out of your thermostat, take advantage of its energy-saving features.
Most modern thermostats come with programmable options that let you set specific temperatures for different times of the day. By programming these schedules, you can guarantee your home remains comfortable while reducing energy consumption when you’re not around.
For instance, consider setting the temperature higher during the day when you’re at work and cooling it down before you return home.
Many thermostats also offer smart features that learn your habits, automatically adjusting temperatures to maximize efficiency.
Adjust for Seasonal Changes
Adjusting your thermostat for seasonal changes can greatly enhance your home’s energy efficiency.
By programming your thermostat to adapt to the shifting temperatures, you’ll save on energy bills while maintaining comfort.
Here are some smart tips to contemplate:
- Set your thermostat a few degrees higher in summer and lower in winter.
- Use the “away” mode when you’re not home to conserve energy.
- Contemplate a programmable or smart thermostat for automatic adjustments.
- Regularly check and update your settings as the seasons change.
Regularly Check and Maintain Your Thermostat
Regularly checking and maintaining your thermostat is essential for guaranteeing your home’s comfort and energy efficiency.
Start by inspecting the thermostat for dust and debris, as these can interfere with its function. A clean device helps it read temperatures accurately, so don’t hesitate to wipe it down gently.
Next, test your thermostat’s settings to confirm it responds correctly. Adjust the temperature and observe if your HVAC system reacts as expected. If you notice any discrepancies, it’s a sign that your thermostat might need recalibration or replacement.
Also, replace the batteries if you have a battery-operated model, ideally once a year, to prevent unexpected failures.
Finally, keep an eye on the surrounding area; verify nothing obstructs the thermostat, like furniture or curtains, which could impact its readings.
Seek Professional Help When Necessary
When you encounter issues with your thermostat that you can’t resolve on your own, seeking professional help is crucial. It’s better to get it right than to risk further complications.
Here are some signs it’s time to call in the experts:
- Your thermostat isn’t responding to adjustments.
- You notice irregular heating or cooling throughout your home.
- There’s a persistent error message on the display.
- You’re unsure about the wiring or installation process.
At Top Gun Heating & AC Repair, our family-owned business is ready to help you navigate these challenges.
We offer honest pricing, clear communication, and personalized solutions tailored to your needs. Our team guarantees you receive the strongest warranties in Texas, along with a 100% satisfaction guarantee.
Don’t hesitate to reach out; sometimes, a professional touch is exactly what your thermostat needs!
Conclusion
Installing a thermostat might seem intimidating, but with these tips, you can tackle it confidently. You don’t need to be a DIY expert—just take your time and follow the steps. Imagine enjoying consistent temperature control while saving on energy bills. If you hit a snag, remember that calling a professional is just a phone call away. A little preparation goes a long way to guarantee your new thermostat works perfectly and enhances your home’s comfort.