Have you ever wondered how some homes maintain perfect temperatures year-round? In Fort Worth, TX, mini split systems offer an efficient solution that can transform your living space. They provide customizable comfort while saving energy and money. Understanding the ins and outs of installation can make all the difference in achieving peak performance. So, what do you need to know before making the investment? Let’s explore the key aspects of mini split installation together.
Understanding Mini Split Systems
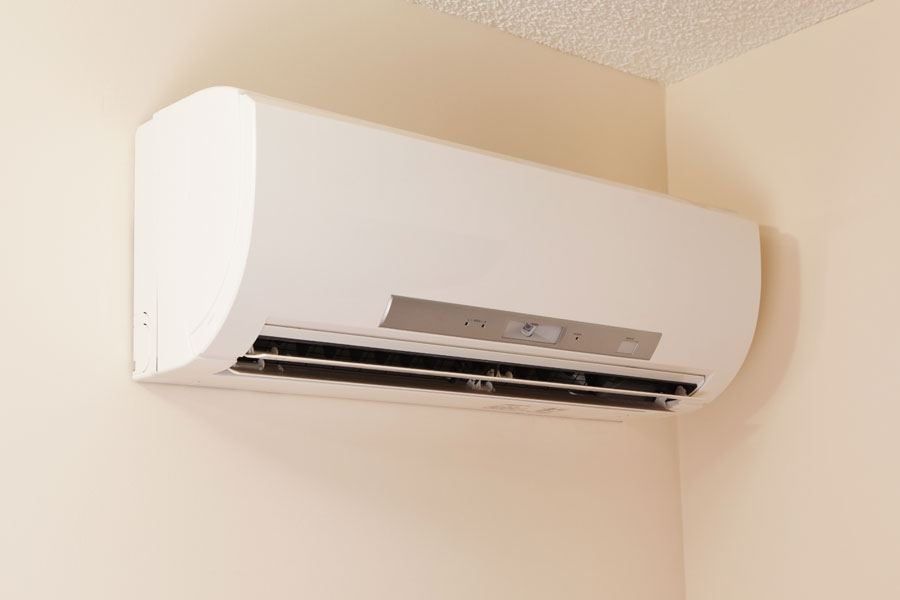
Mini split systems are a versatile heating and cooling option that can enhance your home’s comfort without the need for ductwork.
These systems consist of an outdoor compressor unit and one or more indoor air handling units, allowing you to control the temperature in individual rooms or zones. This means you can customize the climate to suit your preferences, reducing energy waste and improving overall efficiency.
Installation is relatively straightforward, requiring only a small hole for the refrigerant line and electrical connections.
Because they don’t rely on ducts, mini splits can be a great solution for older homes or spaces where duct installation isn’t feasible. They also operate quietly, making them ideal for bedrooms and living areas.
If you’re considering a mini split system, it’s important to assess your home’s specific needs and layout. Ductless mini split systems provide efficient, customizable comfort, making them an excellent choice for various living situations.
Partnering with a knowledgeable team can help you navigate your options effectively.
Benefits of Mini Split Installation
When you choose to install a mini split system, you’re investing in enhanced comfort and efficiency for your home.
Mini splits allow for precise temperature control in individual rooms, so you can enjoy a cozy environment tailored to your preferences. Unlike traditional HVAC systems, mini splits operate quietly, minimizing disruptions while you relax or work.
Additionally, these systems are energy-efficient, often leading to lower utility bills. You’ll also find that mini splits require less space and installation work, making them ideal for homes with limited room for ductwork.
With no ducts to maintain, you can improve your indoor air quality, reducing allergens and dust.
Plus, their versatility means they can be used for both heating and cooling, providing year-round comfort. Furthermore, a professional installation ensures expert ductless mini split repair services are readily available should issues arise.
Choosing the Right Mini Split for Your Home
Selecting the right mini split for your home involves considering several key factors to guarantee ideal comfort and efficiency.
Start by evaluating the size of your space; a unit that’s too small won’t cool effectively, while one that’s too large can lead to energy waste. Next, think about the number of zones you want to heat or cool; multi-zone systems are great for larger homes.
Energy efficiency is vital, so look for units with a high SEER rating. This can save you money on energy bills in the long run.
Additionally, consider the noise levels of the indoor and outdoor units, especially if you’ll be using them in bedrooms or living areas.
Don’t forget to check features like smart controls and air purification options that can enhance your indoor air quality.
Finally, consult with a professional to confirm you’re making the best choice for your specific needs, as they can provide expert recommendations based on your home’s unique requirements.
The Installation Process Explained
Installing a mini split system might seem intimidating, but with the right guidance, you can navigate the process smoothly.
First, you’ll need to choose the ideal location for both the indoor and outdoor units, guaranteeing proper airflow and accessibility.
Next, you’ll install the mounting bracket for the indoor unit and secure it to the wall.
Once that’s done, it’s time to run the refrigerant lines and electrical wiring. This involves drilling a hole through the wall to connect the indoor unit to the outdoor compressor.
After that, you’ll secure the outdoor unit and connect it to the power source.
Finally, you’ll need to vacuum the lines to remove any moisture and refrigerant before charging the system.
Once everything’s connected, you can test the system to verify it’s working correctly. It’s important to remember that managing indoor humidity levels can significantly enhance your home’s comfort and air quality, making dehumidifier installation and repair a valuable consideration as well.
If you ever feel unsure, don’t hesitate to reach out to a professional for assistance!
Maintenance Tips for Your Mini Split System
To keep your mini split system running efficiently, regular maintenance is essential. Start by cleaning or replacing the air filters every one to three months. A dirty filter can hinder airflow and reduce efficiency.
Next, check the outdoor unit for debris like leaves or dirt, and clear it away to guarantee proper airflow.
Every year, schedule a professional inspection to check refrigerant levels and clean the coils. This step helps prevent costly repairs down the road.
Additionally, keep an eye on the drain line for blockages; a clogged line can cause water damage.
Finally, monitor the system’s performance. If you notice unusual noises or inconsistent temperatures, it might be time to call in a technician.

Conclusion
In the end, installing a mini split system is like crafting a personalized comfort zone in your home. Just as a well-fitted suit enhances your confidence, a mini split adapts to your unique climate needs, ensuring every room feels just right. By understanding your options and maintaining the system, you can enjoy energy efficiency and peace of mind. So take the leap—transform your living space into a haven of comfort and style. You deserve it!